This is likely to have been the experience you had with a project where wires were scattered all around, you were desperate to install a new rocker switch in your hand, and you did not know where each wire was supposed to fit, a frustrating and confusing moment.
It is even worse when all you are interested in is a clean, reliable connection that works efficiently. Wiring a light in a car, a device on a boat or an appliance in the home, just one little mistake in the wiring of a light may bring excitement to a halt.
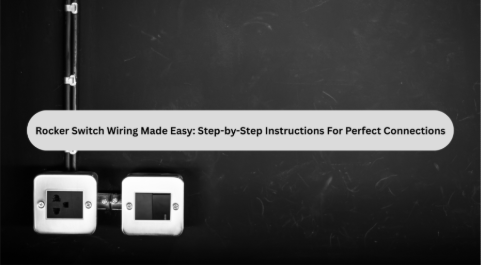
Familiarity with the basics of wiring a rocker switch is time-saving and cost-saving. The article discusses easy-to-follow, actionable steps to enable you to have a proper, reliable and safe connection that works in the way they are supposed to.
A Quick Look at the Rocker Switch
Before picking up the tools, one must know what a rocker switch is. A rocker switch is a switch that can regulate the flow of electricity by rocking between on and off.
It has either two or three terminals, depending on the terminal configuration:
Single-Pole Single-Throw (SPST) or Single-Pole Double-Throw (SPDT). SPST switches are simple on/off, while SPDT switches can switch between two circuits.
The type you are working with determines the rocker switch wiring you are going to use.
Understanding how it was designed and how it is used will make wiring a simple, progressive, and effective process that delivers the same results.
Steps to Perfect Switch Connections
These are the few steps that can guarantee you clean, reliable and safe connections:
-
Get the Right Tools and Materials
To have a hassle-free wiring process, preparation is the key.
Get the essentials: a wire stripper, crimp connectors, a meter and electrical tape. You also need appropriate wire—most 12V applications use 16 to 18 gauge—and, lastly, you need your rocker switch.
To be on the safe side, it is always best to disconnect the source of power prior to turning it on. By preparing the materials beforehand, you can stay accurate during the wiring process.
Labeling the wires by their purpose —power, load, or ground — can also save you time in the future. And after all the preparations made, you can work on clean, secure and efficient connections.
-
Understand the Terminals and Connections
The biggest secret in wiring a rocker switch is knowing its terminals.
In the majority of rocker switches, there are three terminals: Power (input), Load (output) and Ground.
The positive source is connected to the Power terminal; a device or light to be controlled is connected to the Load terminal; and the Ground terminal is connected to the chassis, which is the negative side.
Some models have another terminal to support built-in LEDs. Crimp connectors are to be applied so they fit properly and are not corroded.
Secured connections eliminate flickering, heat generation, and voltage loss – minor issues that can cause larger problems unless managed.
-
Steps to Wire the Switch Right
Once the terminals are figured out, wiring is simple.
Put the Power wire off the battery or fuse box on the Power terminal, and the Load wire from your device on the Load terminal.
Attach the Ground wire to an appropriate grounding spot on the chassis.
Check voltage with a multimeter after all crimps are installed and properly insulated.
These simple steps yield a consistent, reliable connection that works dependably each time.
-
Test Before Final Installation
Testing is one of the steps required, which is most often overlooked.
Restrict the power source and then turn the switch on the panel and test the circuit. When you switch on the rocker switch to the on position, your device or light should turn on instantly.
Otherwise, check the wiring to see whether the wires have open ends or are attached to the incorrect terminals. Ensure that all terminals are at the correct voltage and well connected to your multimeter.
When all is well, switch off the power again and refit the switch. It is not only a test phase to ensure that all is safe, but also to confirm that your setup is stable enough to be installed permanently.
Simple checks eradicate future accidents and rework.
Tips for Clean and Durable Connections
Keeping your wiring neat isn’t just about aesthetics — it actually boosts both performance and safety.
Use zip ties or clips to bundle wires together and make sure they’re away from any hot or moving parts.
Be careful not to pull or bend the wires too much, as that can lead to damage. For added safety, cover any exposed areas with electrical tape. If you’re working on outdoor or marine setups, make sure to seal connections with heat-shrink tubing.
And when you’re dealing with multi-switch systems, labeling your wires can save you a lot of headaches later on.
These little steps can help you avoid problems down the line and ensure your project has a solid, lasting finish.
Conclusion
It is very simple to wire a rocker switch once you become proficient in the basics, and by following a simple process.
By identifying appropriate terminals to use, making connections tight, and performing careful testing, you can enjoy a slick, professional job every time.
Clean wiring not only enhances performance but also prolongs the life of your device or appliance. So the next time you take the leap on a wiring project, do so with a cautious attitude and a bit of self-assurance.
Start by reviewing your past installations, improving some, or finally installing that new switch you’ve been thinking about — and see for yourself just how easy, safe, and rewarding it can be to achieve those perfect connections.